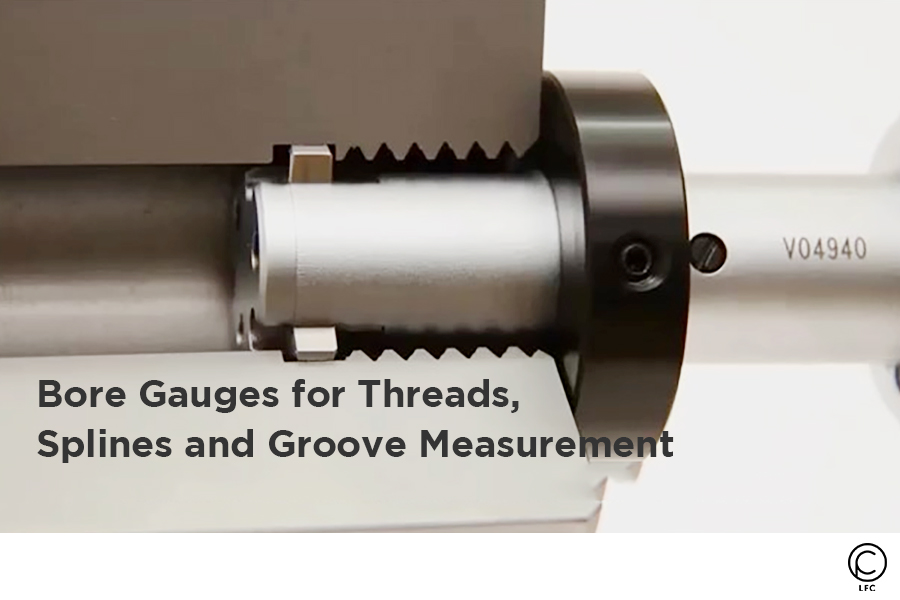
Using the Bore Gauge to Measure Splines, Threads and Grooves
In our previous article, we covered the basics of bore gauge and how it takes a step further than the plug gauge to measure the size of a hole. A plug gauge inspects the accuracy of the bore, while a bore gauge measures its size. Beyond being an essential tool used to measure the internal diameters of bores, bore gauge heads today can be customized for a variety of applications. For instance, in the energy and oil & gas industry, bore gauges are used to measure:
- External dovetail slots with ball contacts
- Internal diameters inside seat pocket
- Internal spot face distance between flats
- Internal spot face to diameter measurement
In this article, we would like to cover how you can use the bore gauge to go beyond measuring plain bores.
Measuring Spline with Bore Gauges
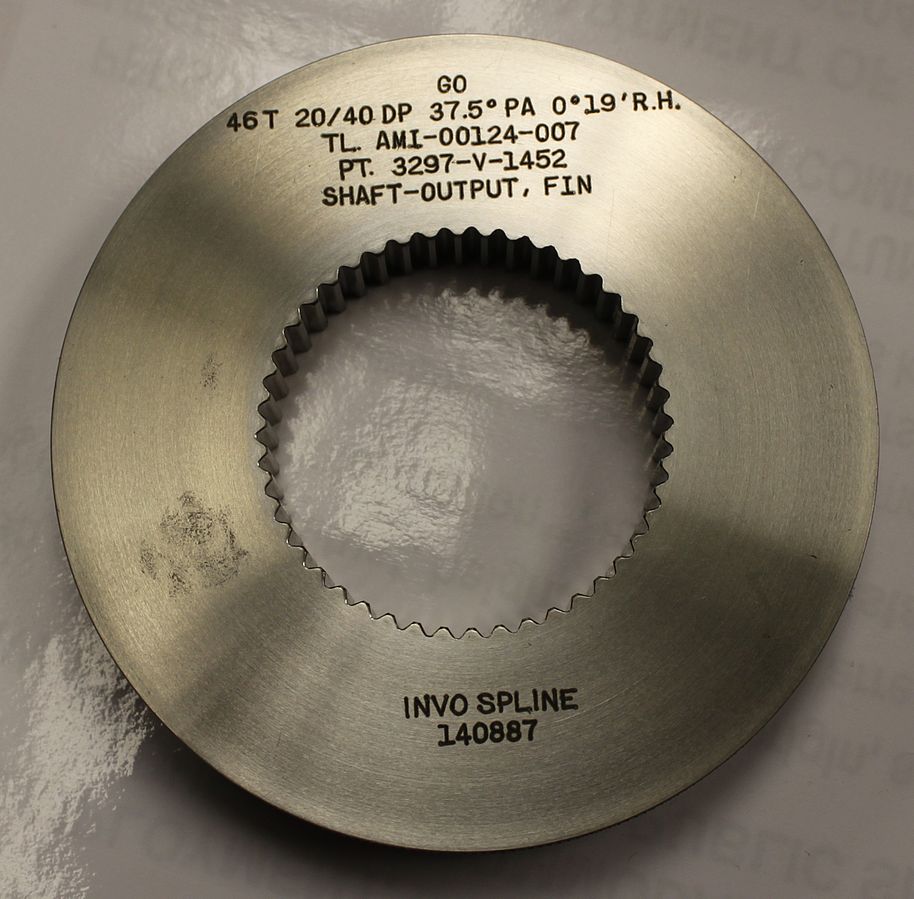
Involute spline couplings are widely used in the automotive and aerospace industry to transmit torque from a shaft to a gear hub or other rotating component. External gear teeth on the shaft engage an equal number of internal teeth in the hub. Because multiple teeth engage simultaneously, they can transmit much larger torques than a simple key and keyway assembly.
However, manufacturing variations affect the clearance between each pair of mating teeth, resulting in only partial engagement. Being able to measure internal spline precisely is therefore essential. Today we are able to produce bore gauges with a special measuring head customized to suit your workpiece. The aim of doing this is to reduce room for uncertainty for your spline related applications.
Image source: https://commons.wikimedia.org/wiki/File:Go_spline_ring_gage.JPG
Typically a spline gauge is used by most to inspect splines. Spline gauges provide a quick method of inspecting involute splines, serration splines and straight sided splines. Besides just relying on GO and No-Go judgments with the spline gauge, you can use bore gauges with heads customized to the spline of your workpiece. Using the bore gauge to measure splines provides you with better certainty over using the spline gauge for inspections. In a situation where you discover a workpiece that lies in the No-Go range, it could have been too late to react to fix your produced parts. This is because there is a high probability that you have been producing parts which are out of tolerance for some time.

We are experienced in supplying dozens of instruments for the measurement of splines. These custom bore gauge heads are manufactured within 6-8 weeks. We can provide 2-point heads to measure distance between pins, major or minor diameter, according to your involute spline data.
Measuring Thread with Bore Gauges
Bore gauge heads can also be customized to measure threads. We find measuring threads with bore gauges to be a good alternative to thread plug gauges. Attributive controls are usually based on human judgement on whether a particular feature is acceptable or not. The use of a Go/No-Go thread plug gauge does make quality control relatively easy for inspecting screw thread holes. However, it does not provide an indication of the actual value.
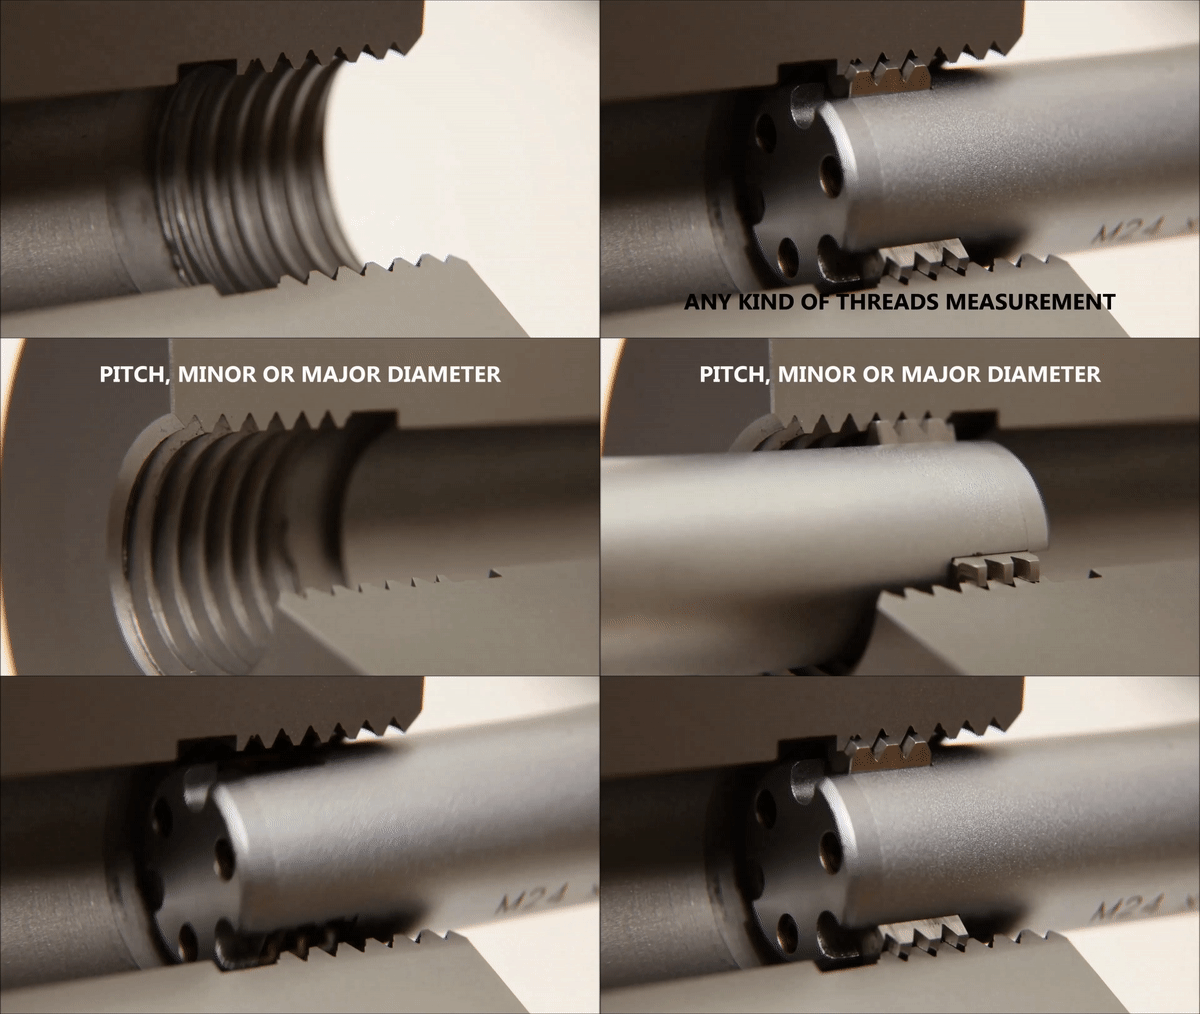
Let’s take a scenario of a M24 x 3 internal thread with a standard 6H tolerance:
The pitch diameter for this thread should be between 22.051 and 22.316 mm for the workpiece to be within the tolerance. Using a thread plug gauge to inspect the screw thread hole, it can potentially represent a significant difference (up to 0.265) between 2 parts accepted.
There is thus still risk when we use such a control method. During ongoing production, when we find a part that lies within the No-Go range, we may have reacted too late to rectify the issue. There could be a probability that many parts have been produced outside the tolerance for some time.
Conversely, when an operator is able to check the real value of the measurement, we can centre the process around the targeted value. This is usually the same as the middle of the tolerance range. Using the bore gauge to measure thread, we can further show where the limits of a stable process lie.
LFC is regularly contacted by customers who wish to complement their current Go/No-Go thread gauges with bore gauges to measure internal threaded parts. Internal measuring instruments like bore gauges allow us to precisely know the effective values and go beyond making a judgment on quality control.
Measuring Grooves with Bore Gauges
It is also possible to measure internal groove diameters with bore gauges. We are able to offer a range of standard and custom solutions to measure grooves with precision. Sylvac bore gauges are available to measure grooves from 6 to 300 mm in diameter. They can come with 2 or 3 measuring points. These heads are interchangeable within a range. These bore gauges are also suited for special forms like radius, ball race, brake calipers, blind bore and annular. The bore gauges also come with depth stops and guide sleeves for quick and accurate locating of measuring points.
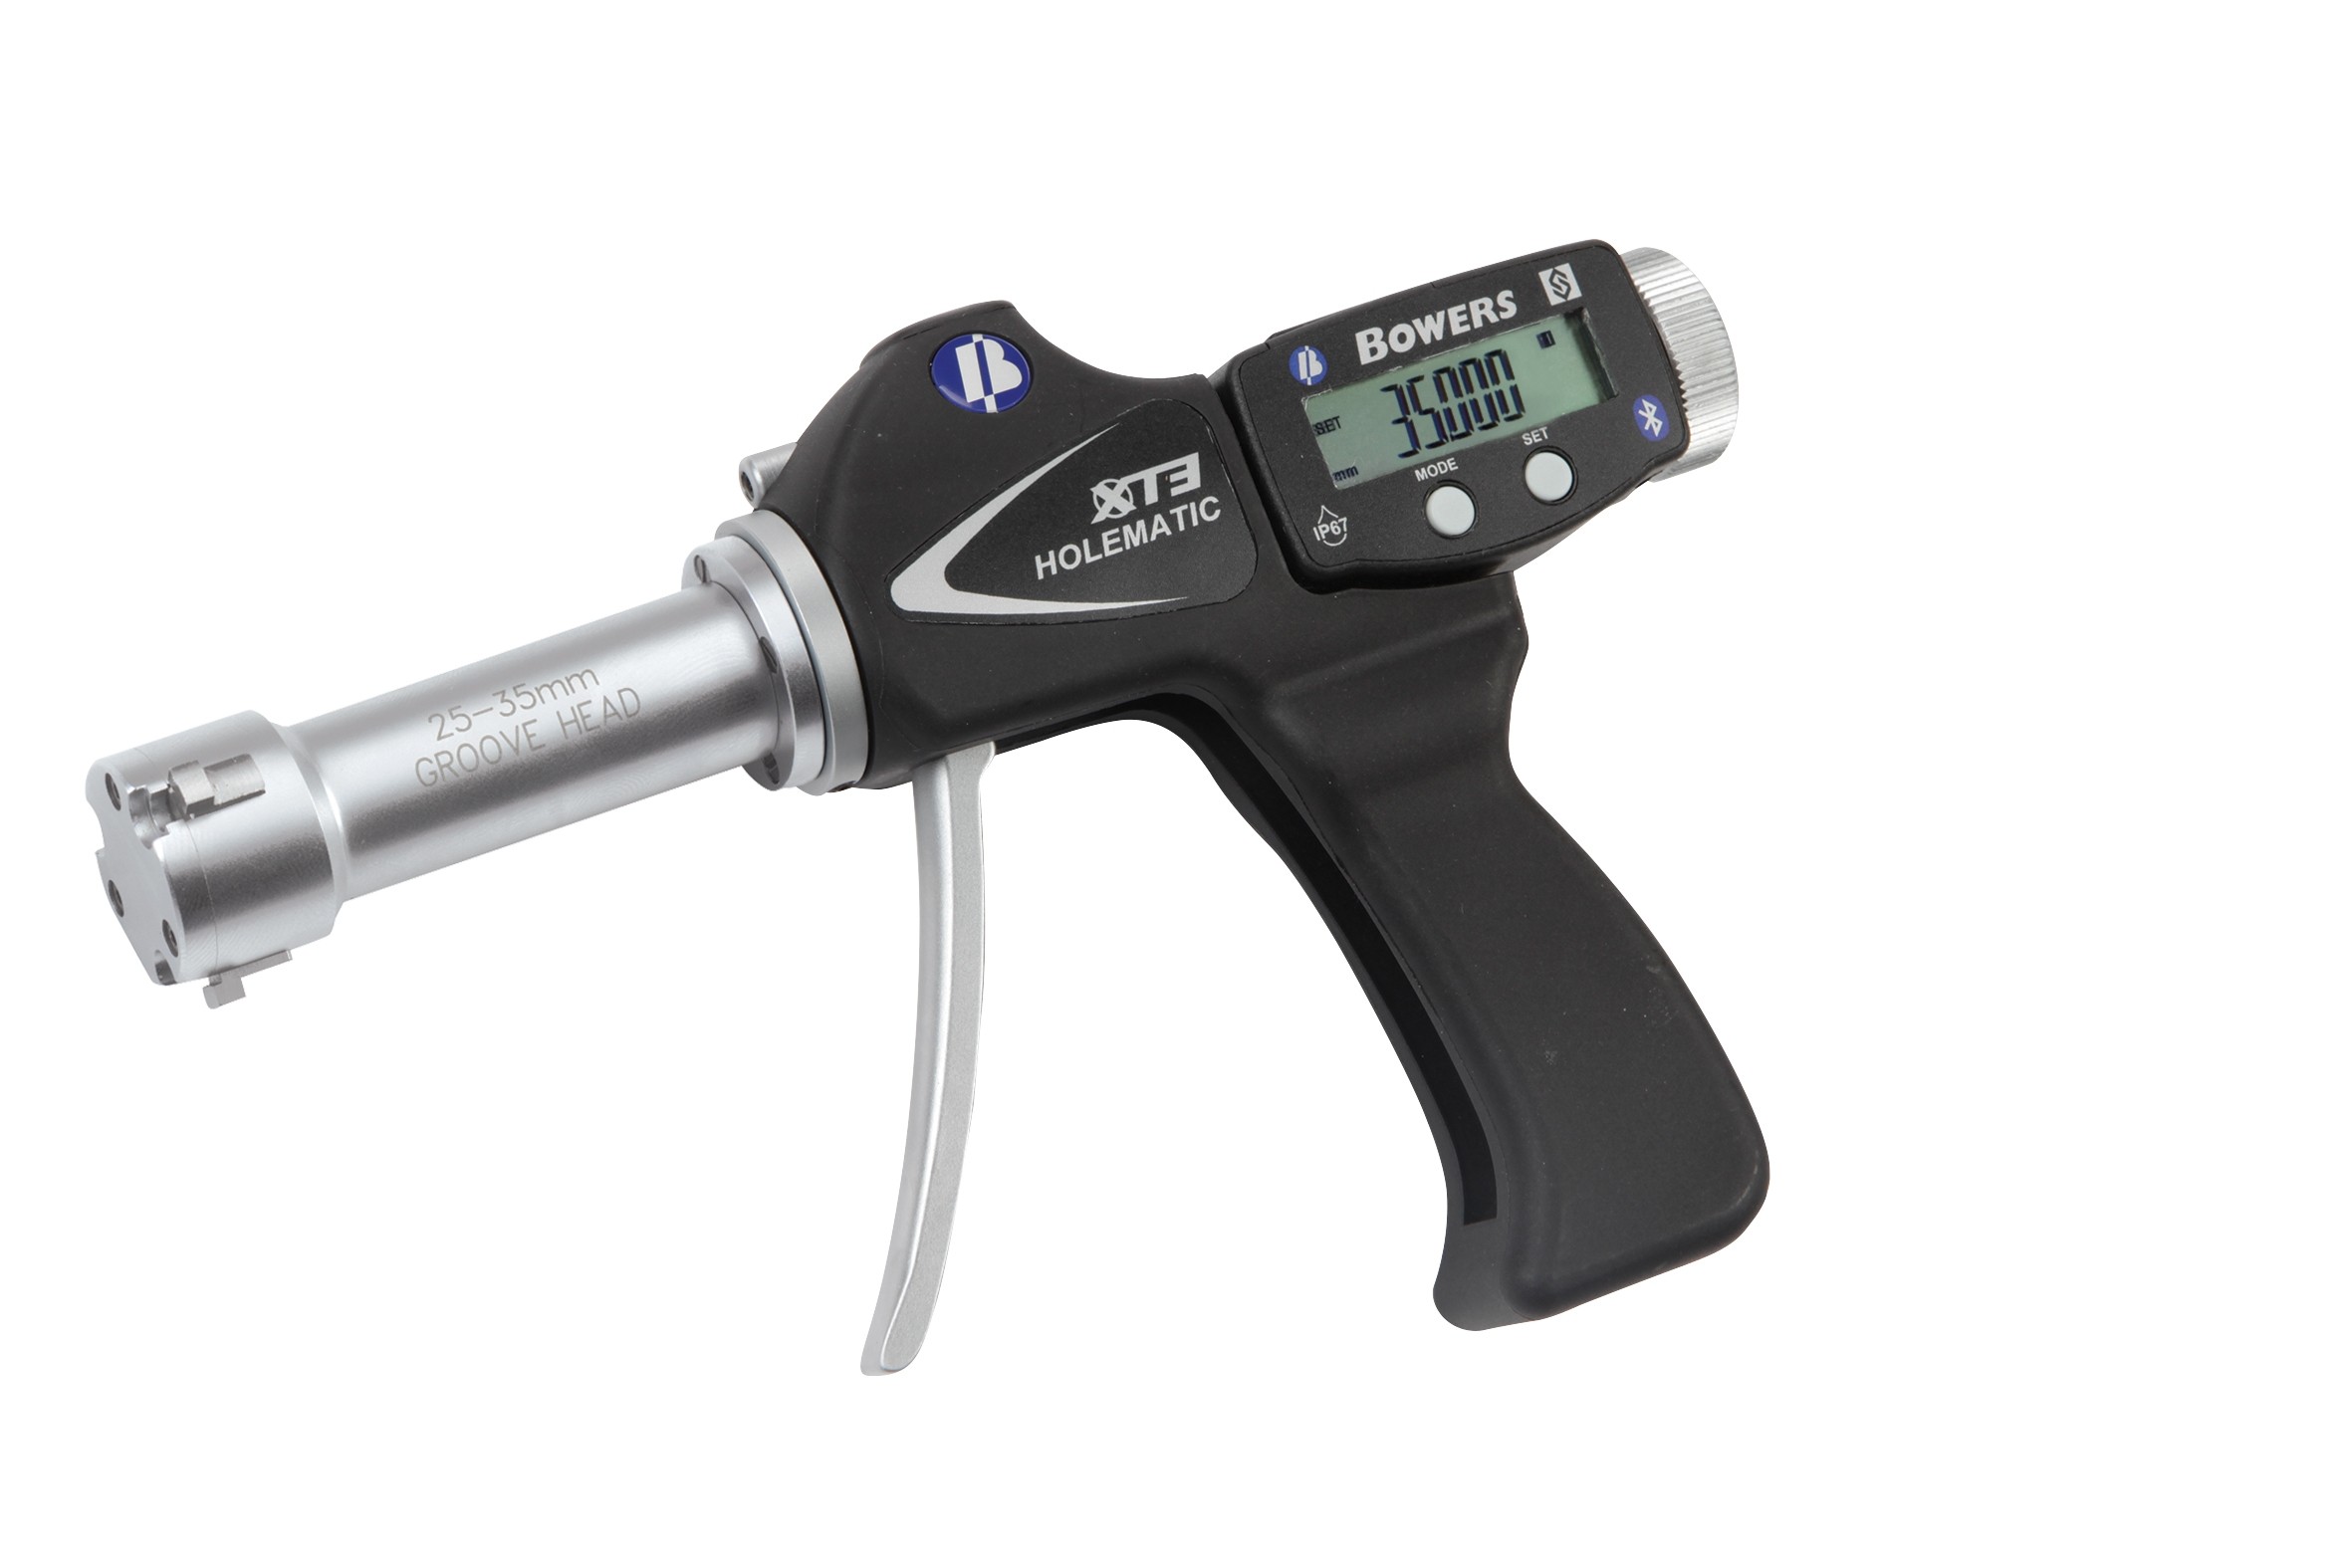
Each of these bore gauge heads can also be fitted directly to the XT range of internal micrometers for fast and efficient use, with incredibly accurate results.
Standard XT Holematic Groove Sets includes:
• Generic anvil profile suits common groove sizes – see table below
• Sets available to cover diameters 6 – 100mm (1/4” – 4”)
• 3-point, self-centring, interchangeable heads for repeatability
• 0.001 mm 0.00005” resolution
• Depth stops
• Extensions
• IP67 seal rating
• Setting rings with UKAS certificates
• Bluetooth-enabled with free data collection application
If you find the generic groove anvil profile in the sets are not suitable for your application, it is also possible for us to provide a custom groove head. Contact us and our team will design a bespoke head, perfectly tailored to fit your specific application. These custom heads can also be fitted directly onto the XT range of internal micrometers to create a flexible, modular measuring system.
Measurement of Dovetail Slots & Turbine Blade Grooves
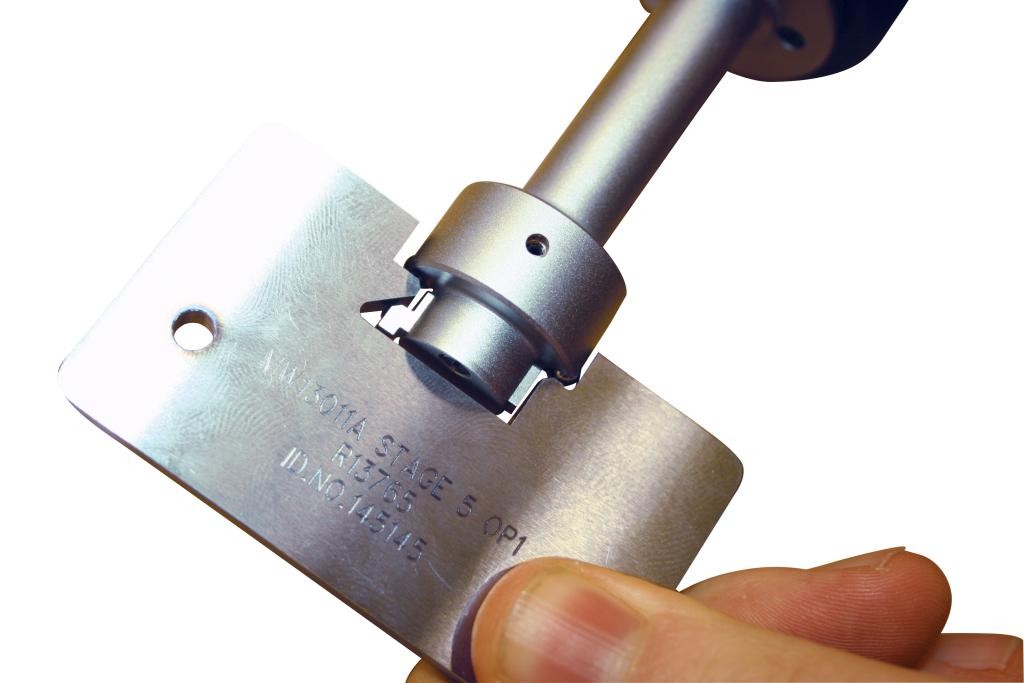
These bore gauges have also been used to measure dovetail slot width and position in a circular component. The datum for the measurements was taken from the shoulder of the slot replicating the final ‘In Service’ blade datums. A special 2 Point head solution was developed based on the existing XT system. The system incorporates tungsten carbide ball contacts for high accuracy. The XT digital readout also has the capability to send data for SPC and part traceability.
This was particularly useful because the dovetail variable gauge is able to measure the actual size and position. This is as opposed to the regular attribute of Go/No-Go gauging. The bore gauge also has a long tool life and does not wear as quickly as attribute gauging.
Such applications can potentially be applicable in the following industries:
- Aerospace
- Nuclear
- Turbines
- Power Generation
Internal Measurement of Surface/Subsea Valve Cavity-Seat Pockets
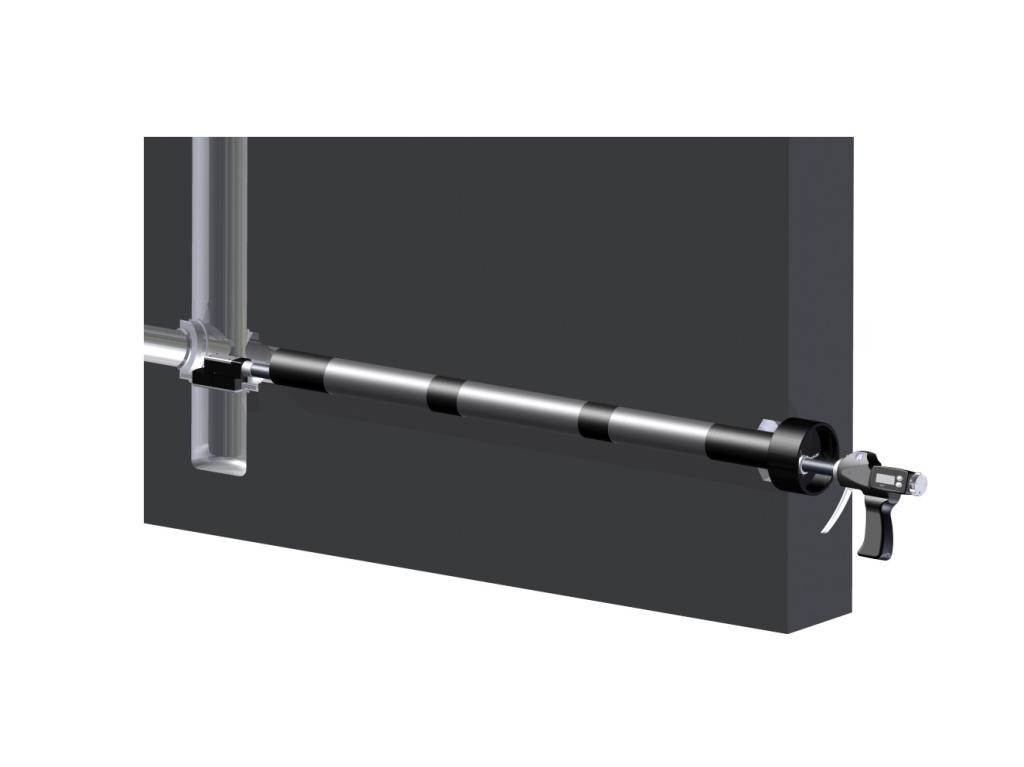
The bore gauge has also been used in the oil & gas industry to measure the internal cavity in valve bodies. The bore gauge can be used to measure:
- Internal diameters inside seat pocket
- Internal spot face distance between flats
- Internal spot face to diameter measurement
A solution was developed by utilising a one-piece right angle adapter to allow entry down a perpendicular bore. This allows measurement to take place at 90 degrees to the entry of the bore. An optimised anvil form and guide pieces aid entry and position the measuring head correctly for higher accuracy measurements and ease of use for operators. This solution helped to achieve higher accuracy and improved the ease of use. Inspections of the cavity was also faster than before.
Such applications can potentially be applicable in the following industries:
- Oil & Gas
- Hydraulics
- Industrial Pipework
LFC is the authorized distributor for Sylvac in Singapore. Contact us if you have such applications and wish to discuss more about it.

